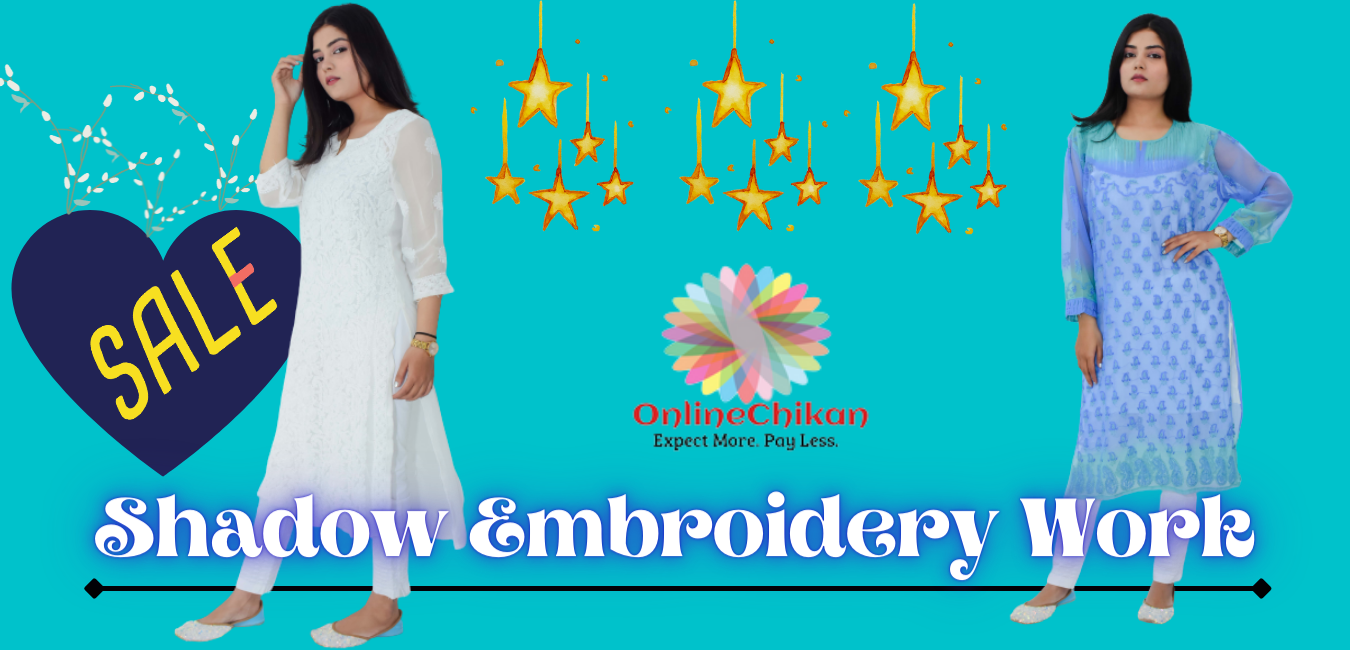
Lucknow Chikan Shadow Work’ or ‘White Embroidery Work
In the shadow embroidery technique, a tightly made herringbone stitch is used on the back of a transparent or translucent (transparent) fabric or sheer fabric. The job seems complicated, but in reality, it is very gorgeous work.
On the fabric front, the work looks like two rows of stitches on the back, exposing the work of the herringbone pattern very subtly.
Sew Herringbone Pattern
In addition to the herringbone stitch, as well as the stem and backstitch, are used in shadow embroidery designs. Satin stitches and French knots are often used in the center of the design. In Indian origin, the shadow is called Chikankari.
Do you want to check out Latest Design Chikan Kurti? Lucknowi Chikankari is one of the famous Chikankari Saree which is fabulous in stitching.
How to do Shadow work?
Another way to work in the shade is to make a double stitch in the back or a herringbone stitch in the back. Some prefer this stitch to be worked in the shade over the herringbone stitch. The double stitch on the back automatically creates a herringbone stitch on the back of the design. This is where you do the stitches on the front of the towel. The contour shows a reverse stitch with a herringbone stitch, which creates a shadow on the reverse side.
Choose the right fabric, thread, and needle.
Shadow work works best with fine threads. Silk thread for twisting buttonholes is ideal, but normal embroidery thread also works. It is better and easier to use single or double short threads for this work (to avoid knots and tangles). Small/medium designs are usually used for this embroidery.
The white thread on the white cloth is still the same as it used to be, but as the work progresses and the color changes, it appears in both the thread and the fabric. But even now, light color fabrics are usually chosen for this embroidery.
Fabrics Suitable for Shadow Embroidery – Any transparent or sheer material that creates a transparent color is suitable for use in shade.
Our Trends and Famous Designs are
- Chikan Kurti
- Lucknowi Chikankari Saree
- Georgette chikankari Saree
- Georgette chikankari Kurti
- Chikankari Lehenga
- Aari Design Sarees
This embroidery looks best when using a brightly colored embroidery thread on a light pastel-colored fabric.
Guidance:
Any designs can be used for this embroidery. Parallel lines are required for the herringbone stitch. The stained-glass design seems to work well because the concept is the same.
Pay attention to the design on the back of the fabric. Since you’re using a transparent fabric, you can simply place the fabric over it and trace the pattern with a sharp pencil or water-soluble pen. Consider another way (9 ways) to transfer the design to the fabric.
Choose a large area design – Since the small visible seam on the right side of the fabric is too fine, the large area must be covered for the design to work.
The design is marked on the back of the garment/fabric as the herringbone pattern is easier to work with there. Be sure to use a mirror image of the design when doing this work from behind. Otherwise, you will get an inverted design.
At the start of your embroidery, instead of a knot, you need to tie and secure the thread by sewing it back, as the knot will appear on the right side. Weaving the thread through the seam (at the back of the design) also ensures complete thread fitting. A waste knot is also used – a waste knot is a knot made about 3-4 inches long which is then cut and then the thread is woven through the back of the embroidery once the stitch is complete.
The centerpiece of the flower is made with a satin stitch, with a French knot on the right side of the design.
Please note that if you use more thread for embroidery, you will get a lighter color on the right side. Deep colors are also obtained when tight herringbone stitches are used.
Do you wish to do a Traditional look in Sarees and Kurtis?


